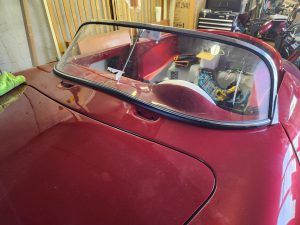
The stories on other forums is true about how difficult installing the windscreen is, especially on your own. Getting it placed at the right angle and working out exactly where to drill the holes for the windscreen posts was quite a challenge and not something that you want to get wrong on a newly painted body.
Once I had worked all that out and drilled the holes, the next challenge was to try and get the nuts to thread onto the bottom of the posts, from the underside of the dash. The space on a fibreglass body is very restricted, right up in the corner of the dash and proved impossible to fit the normal metal angled washers that come with the windscreen – even if you use a Dremel to remove some of the build up of fibreglass in the corner.
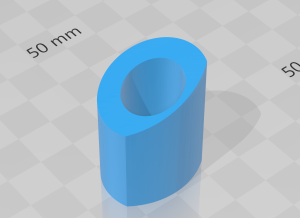
I ended up 3D printing a new angled washer (see picture below) that was thinner on one side, to allow it to sit in the corner. It is also slightly longer, so that the windscreen post nut was protruded more to make tightening with the spanner easier.
It was still a very tricky job, but I eventually found the best trick was to unscrew the windscreen pillars from the main windscreen frame, mount the posts and tighten them slightly before reattaching the posts to the main frame.
Once these were fully tightened and the tensioning rod installed in the middle, the windscreen feels really secure and takes the look of the car to the next level. The only regret that I have from the installation is that the rubber gasket / trim at the bottom of the windscreen was cut a little short on either end. I may address this at a later stage when the windscreen will need to come off again to put the leather dashboard trim on.