
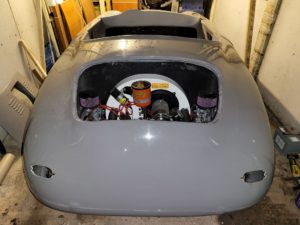
A very tense moment and pressure getting the body onto the chassis for the first time… The electric hoist was invaluable, but required some bracing of the garage roof joist to take the weight.
The added complexity was the clearance of the body, due to the low garage ceiling. The body did not fully clear the chassis, more specifically the engine and it took a number of pairs of hands to get it finally into place.
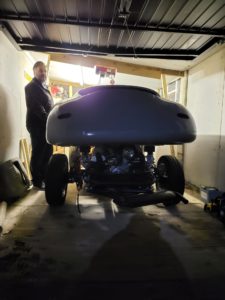
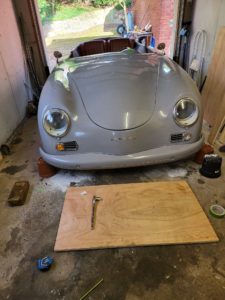
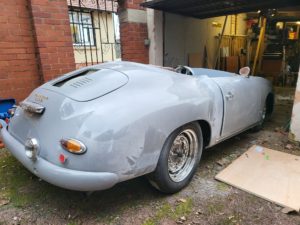
Looks great on on the chassis and is starting to look like an actual car!
Whilst the body is on the car, it is time to drill the various holes for things like lights and bright-work (chrome trim). Best make a mistake now on the car then after an expensive paint job!
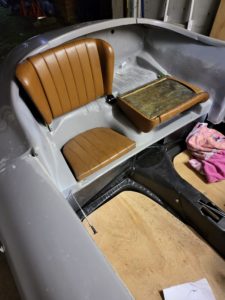
You can also see original rear seats being test fitted, with the central support being 3D printed, so it all operates as the original Porsche 356’s did (albeit only the Coupe’s had rear seats like this).
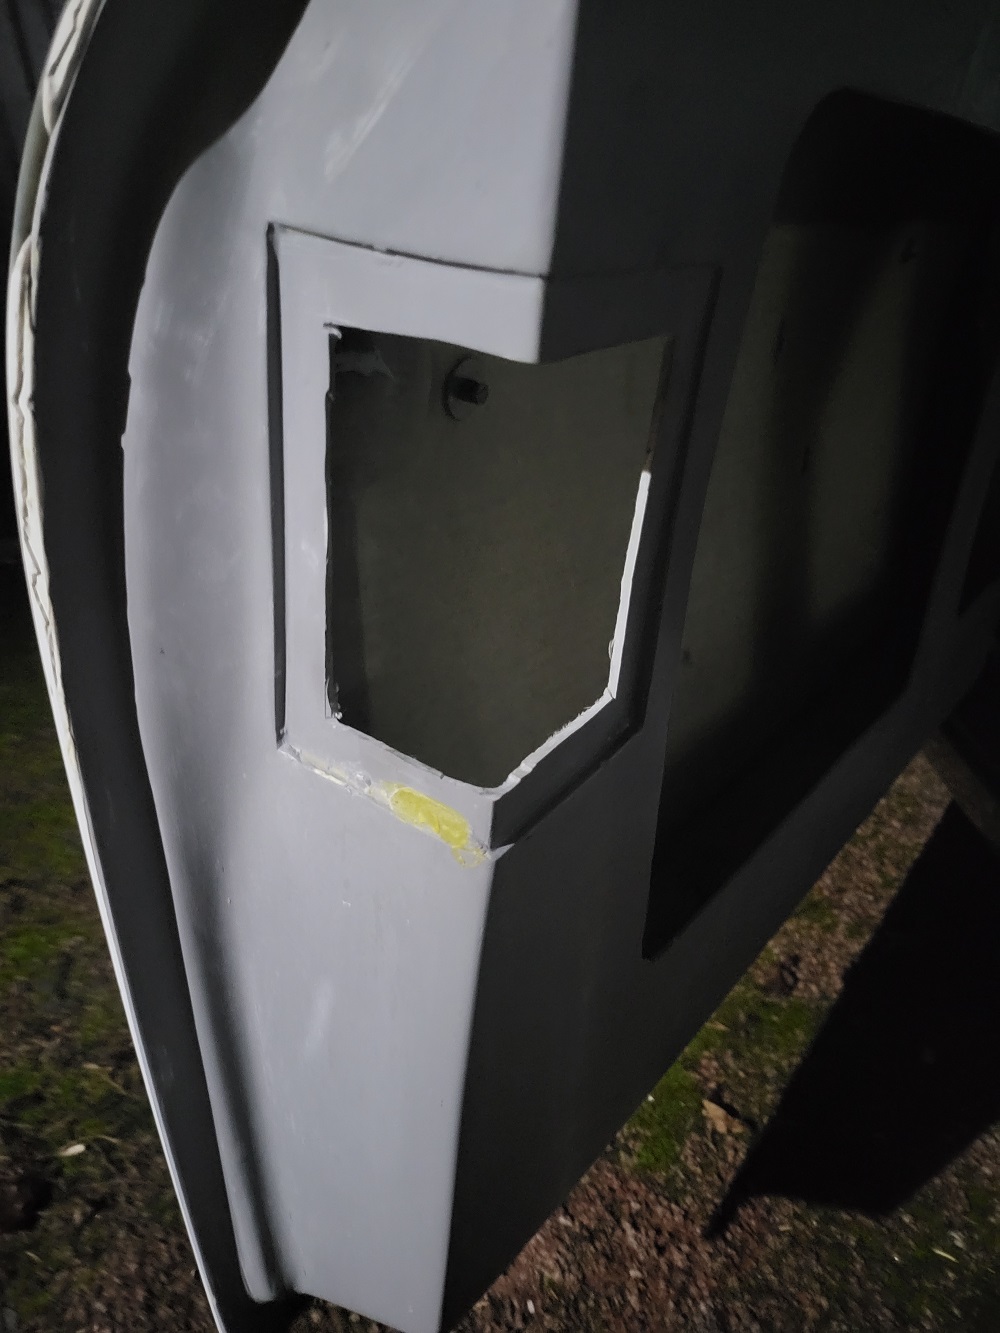
Although you cannot see them in the photos above, we also fabricated some door look plates or of folded 2mm stainless steel which fit into the recess on the door (right hand photo).
These take early Beetle door lock mechanisms, which are then in turn connected to both interior and external handles.
The interior ones are connected using 3mm threaded rod, which connects via a ball joint to the handle mechanism on the internal door. The exterior ones will require a short extension, which I will print in 3D, to allow them to strike the door lock directly and therefore open the door look by pressing the barrel. We will try and get some photos of these to explain in more detail later on.